4 Simple, Classic DIY Gift Wrap Techniques Any Guy Can Use
This holiday season we are sharing some great DIY gift wrap ideas. Wrapping a gift isn’t hard, unless you over-complicate things. We say keep things simple and straightforward: avoid accessories, too many ribbon colors, and anything involving glitter or the word “raffia.” We advocate a simple package, wrapped cleanly and correctly, with a little DIY customization to show you care.
DIY Gift Wrap #1: The Basic Box

Our friends at ManMade have brought us this hassle-free way to perfectly wrap a present every time. No weird corners that don’t match. No three-feet-of-tape-because-you-didn’t-cut-enough-paper. Just keep it simple and do it right.
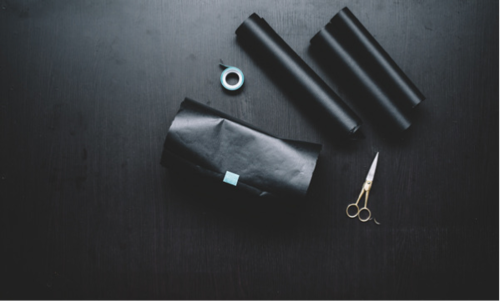
Start by placing the gifts in the middle of the paper’s width.

You should have enough room on the top and bottom (the paper should be at least twice as wide as your present).
With the present still in the paper’s middle, fold one of the flaps in and secure it to the bottom of your present. Use clear tape of any kind. TIP: electrical tape looks cool too!
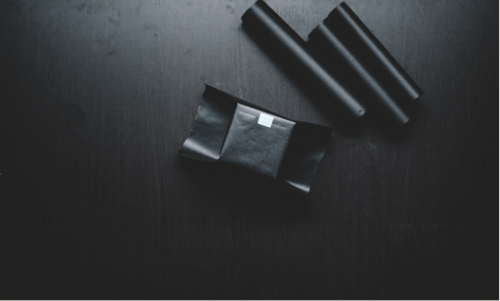
For the sides, fold the top part down and secure it to the side of the present. Repeat the same step on the opposite side. Remove any excess paper with scissors for the cleanest look and sharpest corners.
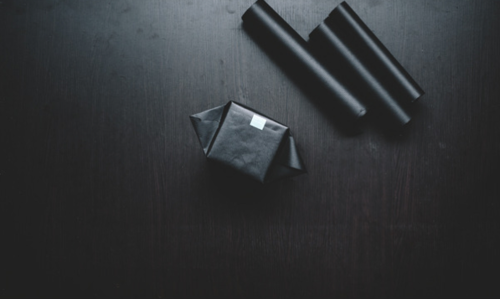
To finish, fold the side flaps down so you form a triangle, then fold the triangle down and secure it with tape. Repeat on the other side.
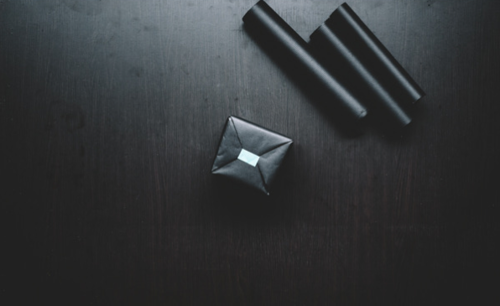
Voila! Add a gift tag and you’re done.
DIY Gift Wrap #2: Easy Fabric “Furoshiki” Wrap (Using a Handkerchief)
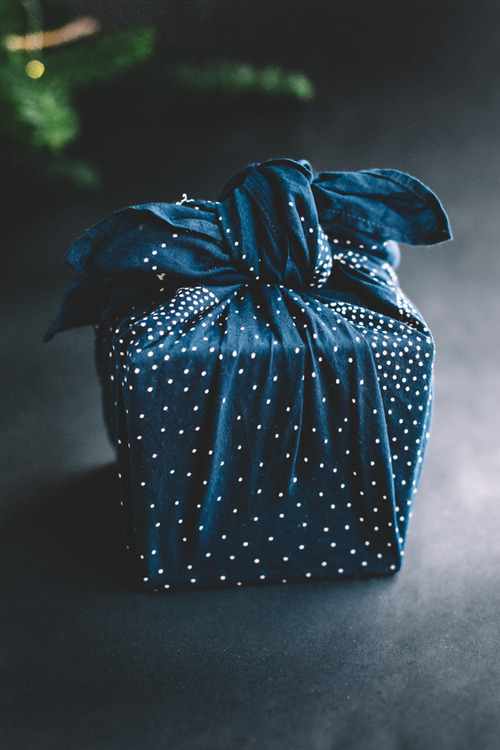
Furoshiki is the fancy Japanese word for “wrapping in a cloth”. This method is widely used to wrap anything from food to gifts. You can use a vintage handkerchief, a square pocket (for small presents), or even a dollar store bandana as your wrapping.
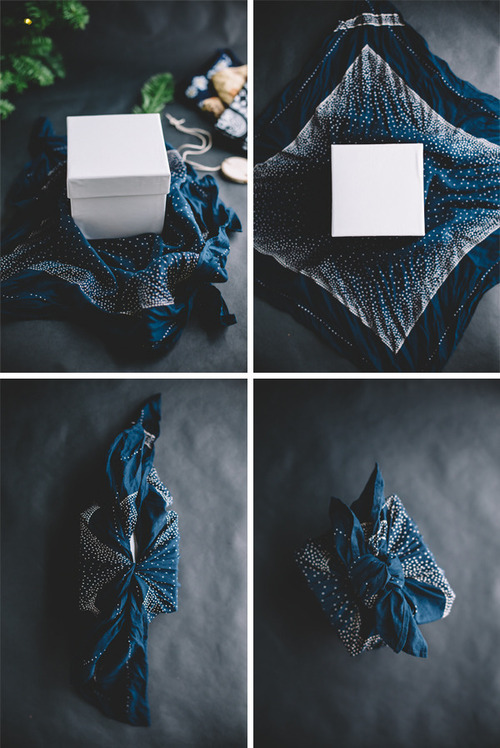
Here’s how to do it:
- Start by placing the present in the middle of the cloth.
- Take the top and bottom corners, bring them to the center and tie a knot.
- Do the same with the other 2 corners.
- Repeat this until you have a nice little bundle of knots at the top.
That’s it! You are done in minutes. Easy, yeah?
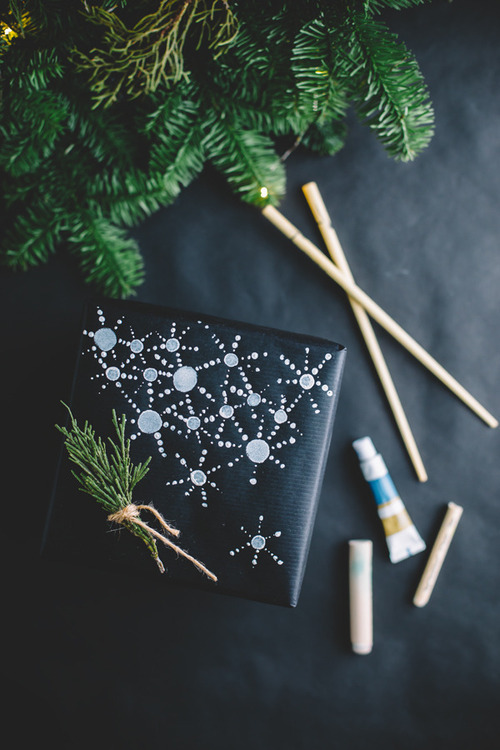
DIY Gift Wrap #3: Five Minute Hand Drawn Wrapping Paper

If you’re feeling artistic, you can use a paint marker to quickly decorate plain wrapping paper.
Simply grab a marker, a couple chopsticks, paint dabbers, or even a pencil, a small piece of paper, and some paint. Dab your tool and make dots of different sizes on the paper. You can play around with the sizes to make a snowflake pattern like the one above.
Let it dry for about 5 minutes and you’re good to go. Note that we added this decoration after wrapping the gift, so we could place the accent in the right spot.
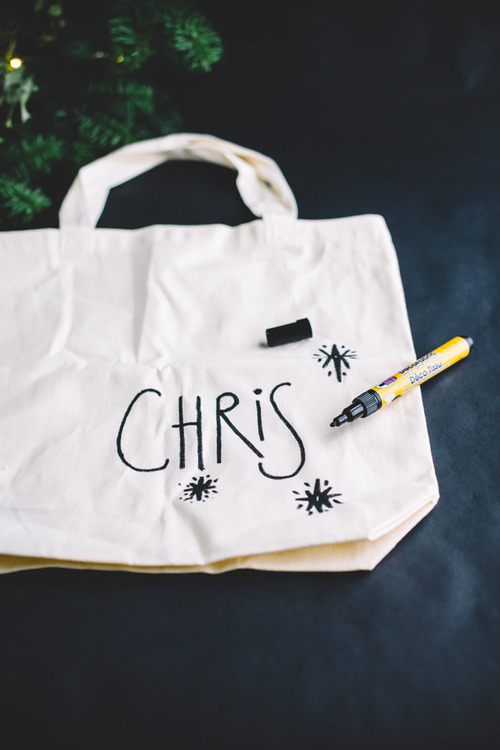
DIY GIft Wrap #4: Personalized Tote Bag
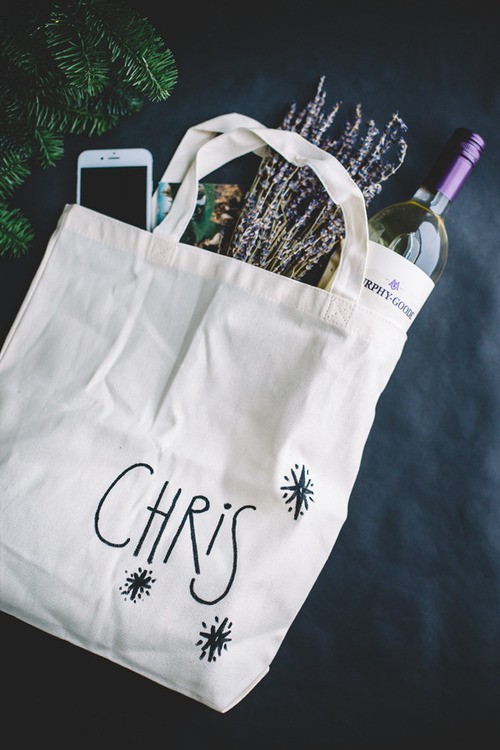
Gift bags are great, especially if you’re giving multiple gifts. For the same price as a patterned paper bag at the discount store, you can score a reusable fabric tote at the craft shop. A simple typographic accent serves as a gift tag.
To make one, simply get a fabric pen from the craft store or use a permanent marker to add some detail to this basic canvas tote.
Test your design on a sheet of paper before applying to the fabric. Also, make sure to insert a piece of cardboard inside the tote bag so that any excess ink gets trapped there without bleeding onto the back of the tote.
And … there you have it.